europe is already in the decline phase. Not approaching it. In it
Continue reading

europe is already in the decline phase. Not approaching it. In it
Continue reading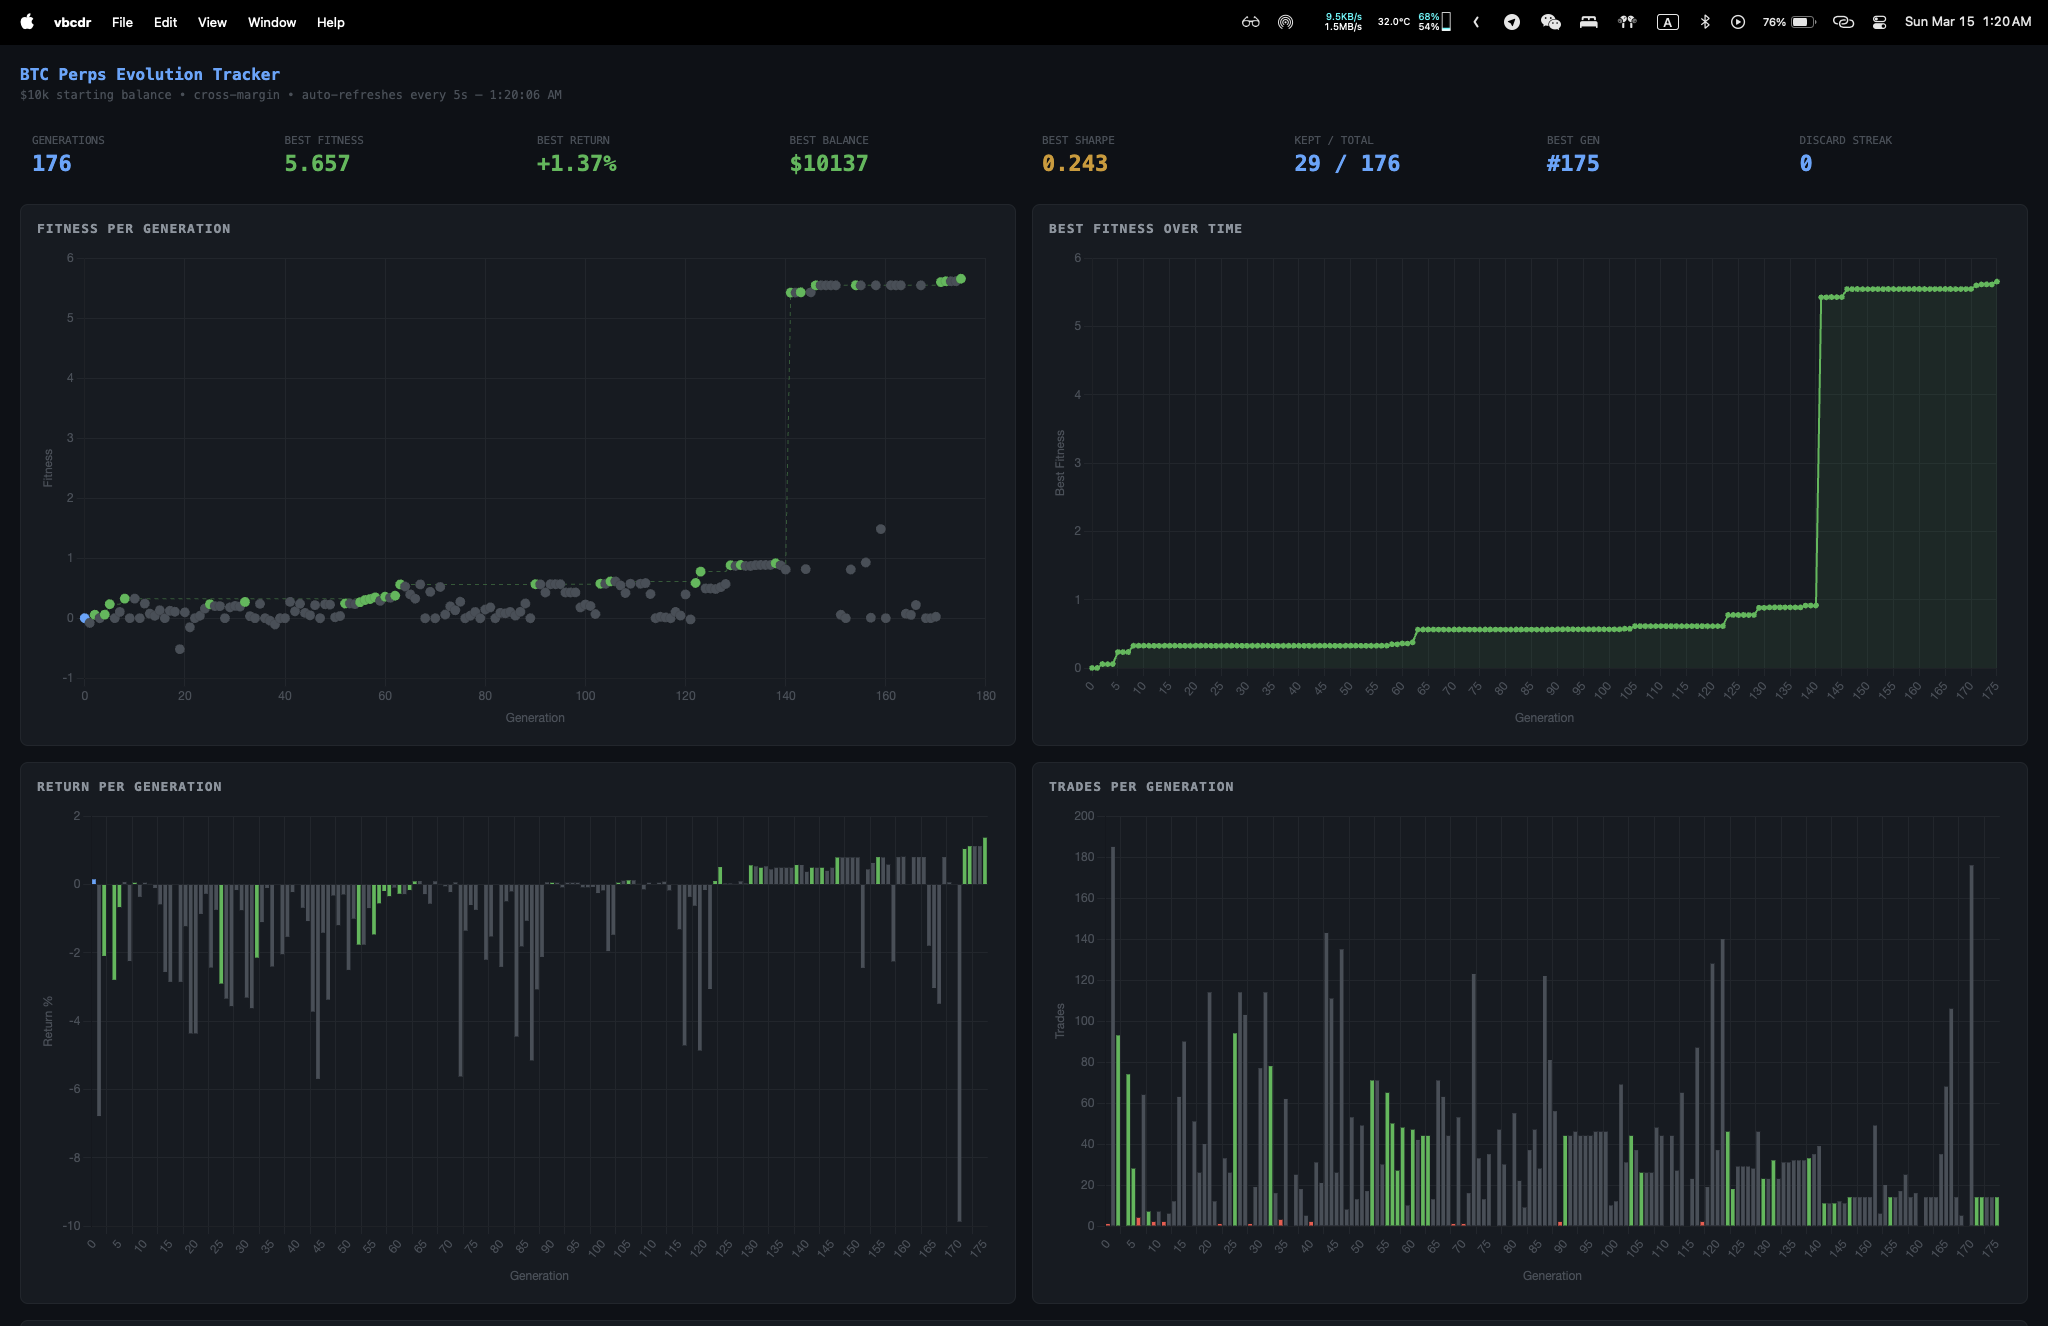
What if you could let an AI run overnight and wake up to a better trading strategy than you started with?
Continue reading
I’m moving to China for a while. and if you know anything about the internet situation there, you know the Great Firewall blocks basically everything — Google, YouTube, WhatsApp, Twitter, even ChatGPT. the usual VPN apps get detected and blocked pretty quickly too
So i built my own
A desktop app that connects you to a proxy server with one click. no config files, no manual setup, no terminal commands. just click and your traffic is encrypted, obfuscated, and routed through a server that the firewall can’t distinguish from regular web traffic
Commercial VPNs are the first thing China blocks. they know the protocols, they know the server IPs, they do deep packet inspection on everything. most VPN connections get throttled or killed within seconds
The Great Firewall is actually really sophisticated. it doesn’t just block IPs — it analyzes traffic patterns, TLS fingerprints, packet timing. if your connection doesn’t look like normal web browsing, it gets flagged
So i needed something that doesn’t look like a VPN at all
This is where it gets interesting. i’m using the VLESS protocol with Reality transport — and Reality does something clever
It makes your proxy traffic look like a normal HTTPS connection to a legitimate website. in this case, the TLS handshake mimics a connection to www.microsoft.com on port 443. the firewall sees what looks like someone browsing Microsoft’s website. nothing suspicious
The encryption stack:
VLESS itself sets encryption to “none” because Reality already handles everything at the transport layer. no double encryption, no overhead, no detectable VPN signature
Tauri was the obvious choice. Electron would work but shipping a full Chromium for what’s essentially a connect button felt excessive. Tauri gives me a native app with a tiny footprint and a Rust backend that can spawn processes and modify system routing tables
When you click connect, a lot happens in about 2 seconds
The app ships with credentials for a 3x-ui management panel running on my server. on first connect, it generates a UUID for your device and registers itself as a client. no manual step needed
App launch → Generate UUID → Login to panel → Register device → Save identity
Every subsequent connect just checks that the registration still exists. i wanted zero friction — especially for family members who might need this too
Your browser
  → System SOCKS proxy (127.0.0.1:1080)
    → xray-core (local process)
      → VLESS + Reality encrypted tunnel (TCP:443)
        → Remote server (outside China)
          → Internet
xray-core runs as a child process. the app writes a JSON config, spawns the binary, and polls port 1080 until the SOCKS5 proxy is ready. then it tells macOS or Windows to route all traffic through that local proxy
The trickiest part isn’t the proxy — it’s making the OS cooperate
On macOS, the app runs networksetup with admin privileges to set the system SOCKS proxy. on Windows, it writes to the registry. both require elevation
The app snapshots your network state before connecting — default gateway, interface, DNS servers. if the app crashes while connected, it restores everything on next launch automatically
This was important. i’m not the only one who needs this
The app can export a VLESS URI as a QR code. scan it with v2rayNG on Android or Streisand on iOS and you get the same connection. the URI contains everything — server address, UUID, public key, Reality settings. one scan, connected
So i can set up my server once and share access with anyone who needs it. no explaining how proxy configs work, no walking people through terminal commands over WeChat
The panel credentials are hardcoded. the panel connection uses HTTP without TLS verification. config files store credentials in plaintext. for a personal tool this is fine, but i know i should fix these before sharing more broadly
The Rust code uses some unsafe static mutable state for process handles. it works, but an Arc/Mutex approach would be cleaner. sometimes shipping beats perfection — especially when you have a flight to catch
A 15MB desktop app that turns a $5/month VPS into a personal VPN that the Great Firewall can’t detect. one click to connect, one click to disconnect. traffic looks like regular web browsing to anyone watching
Sometimes the best tool is the one nobody has to think about. and when you’re about to lose access to half the internet, you build what you need
Continue reading
One week. That’s how long it took for the next one to show up
Continue reading
A recruiter hit me up about a Web3 developer position at Limit Break. Good salary, interesting project, the whole package
Continue reading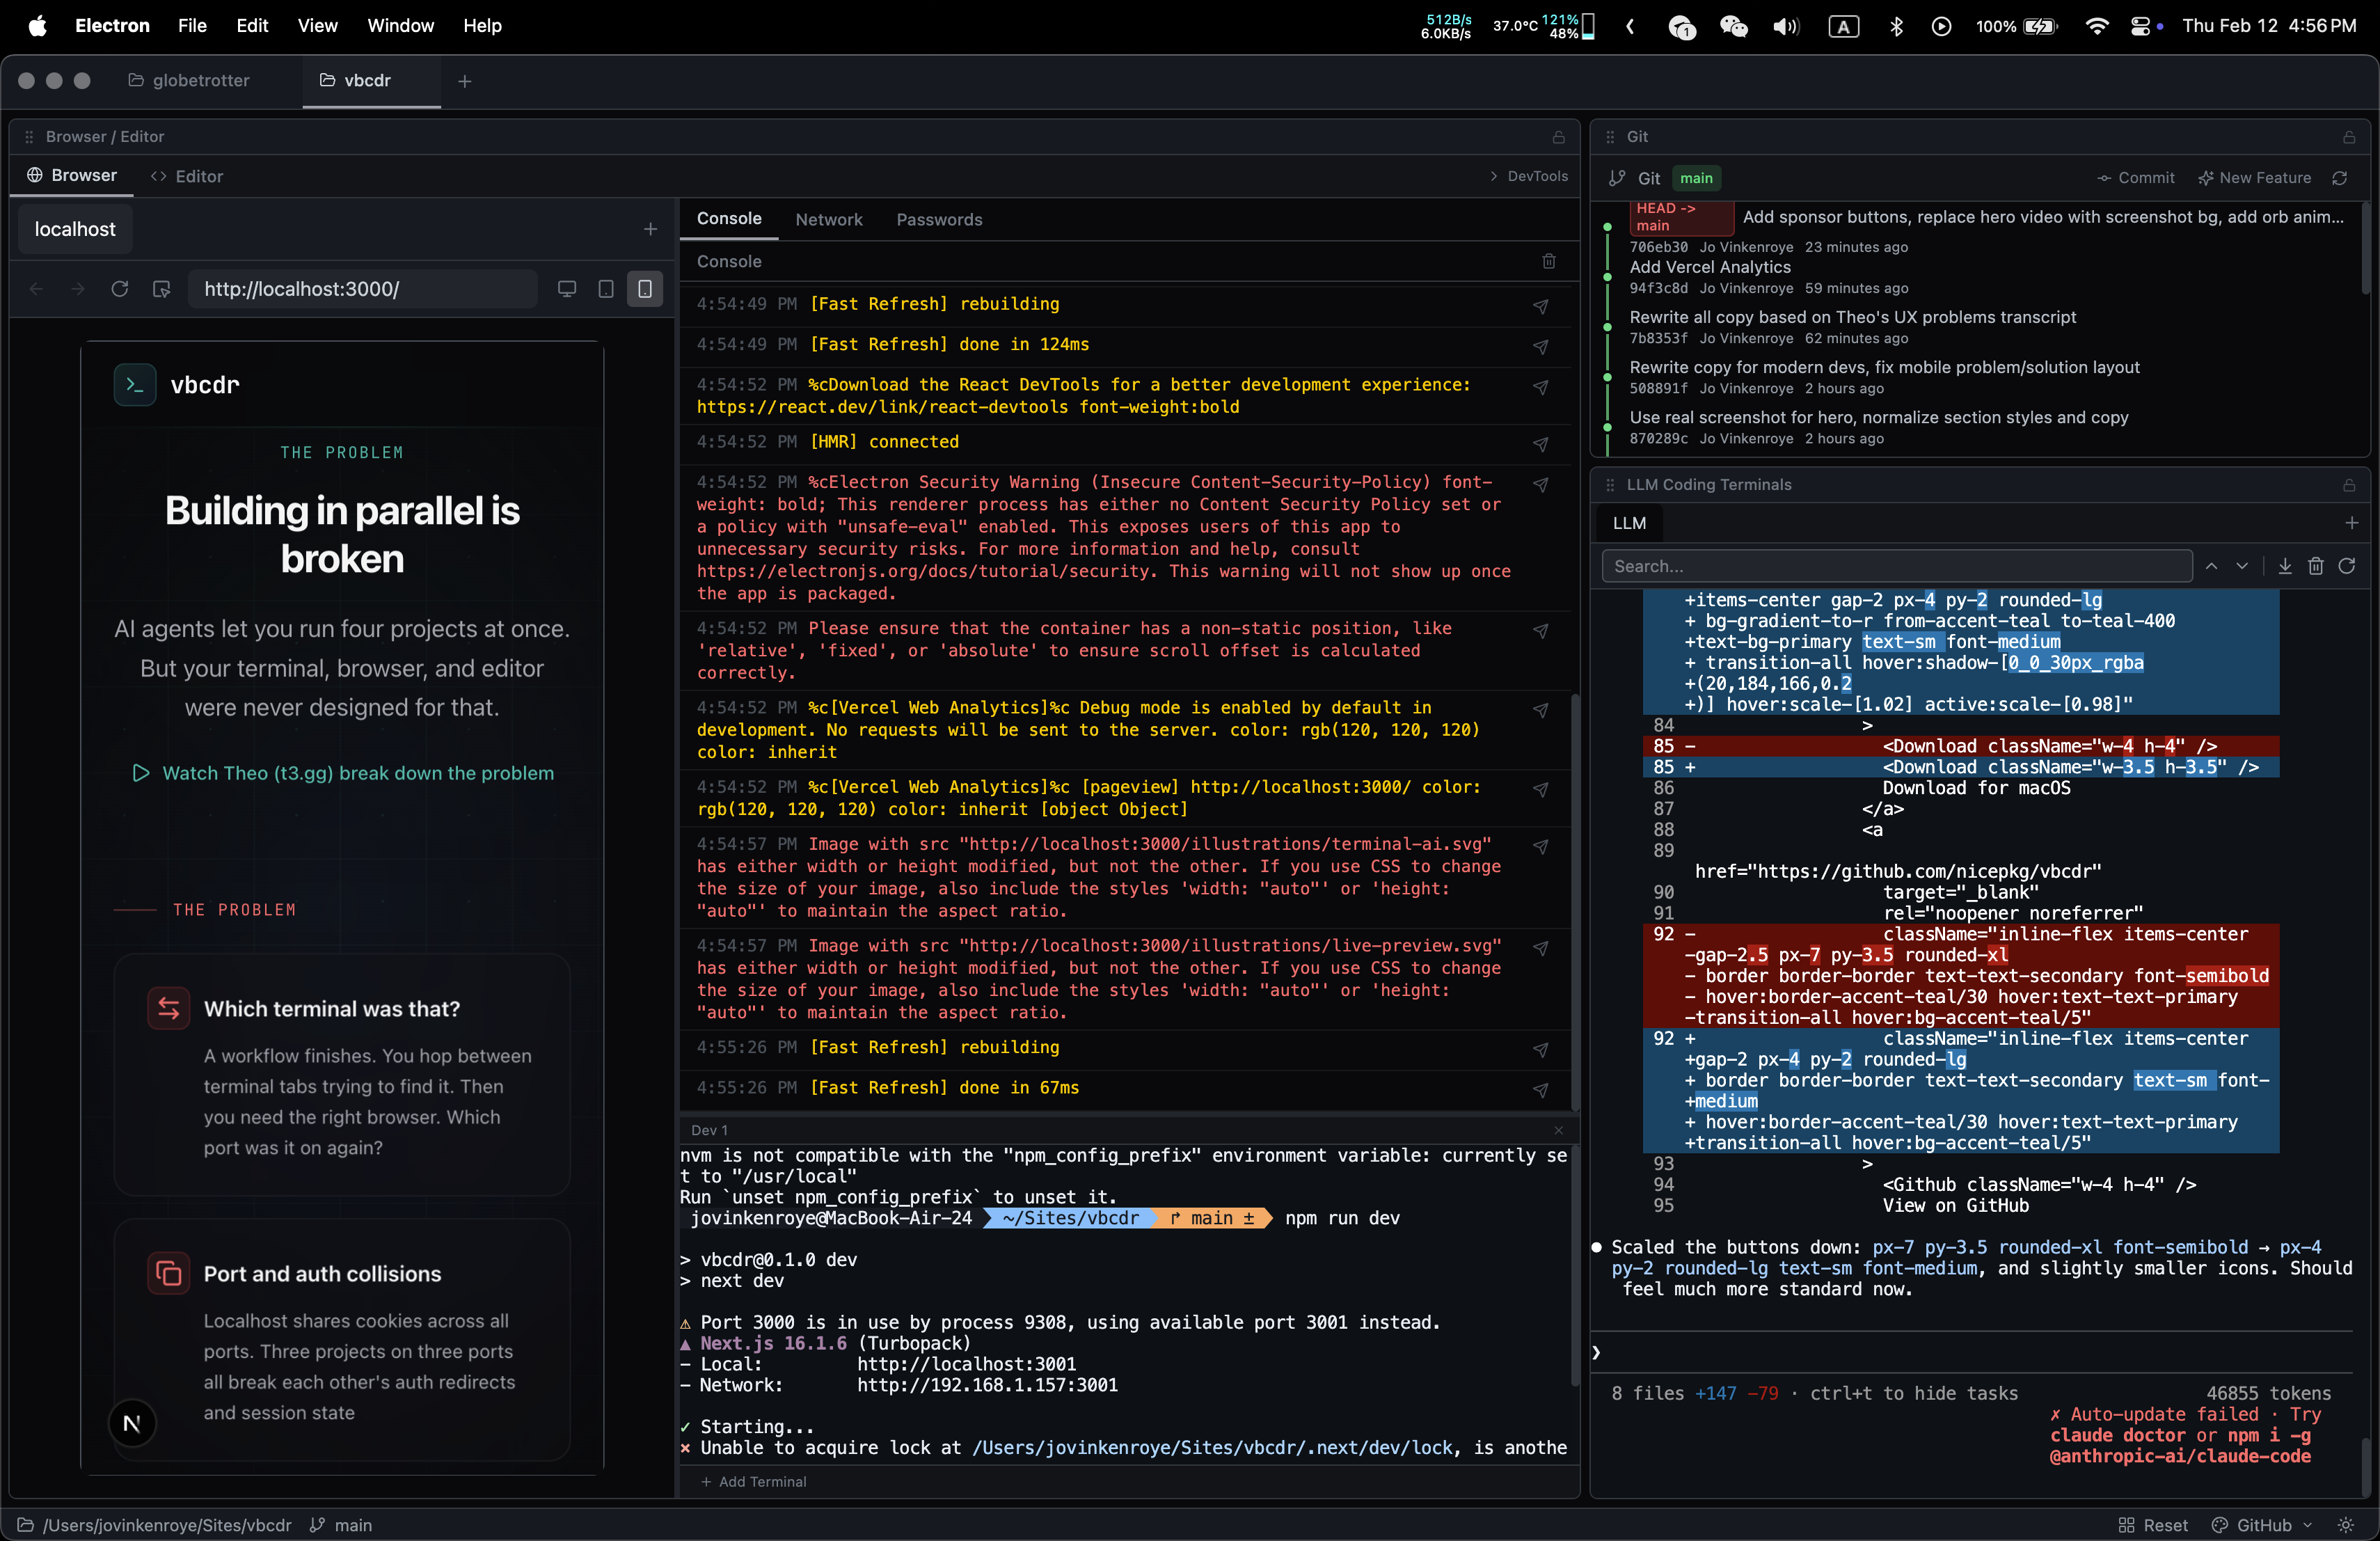
I got tired of fighting my IDE
Continue reading
You can’t detect AI-generated content at scale without machine-readable marking. Watermarks can be stripped. Visual labels require human review. Metadata can be lost in transit.
Continue reading
I got tired of fighting my IDE
Continue reading
Ok so imagine this. You’re texting your AI assistant on WhatsApp at 7 AM, asking it to check your emails and prep a morning briefing. Then you switch to Telegram on your laptop and just continue the same conversation. No context lost. No starting over
Continue reading
If you’ve been following the AI development space in early 2026, you’ve probably heard the name “Ralph Wiggum” more times than you’d expect for a character from The Simpsons. This isn’t about yellow animated characters—it’s about a technique that’s fundamentally changing how developers work with AI coding assistants.
Continue reading
You probably found this blog through linkedin or x
Continue reading
so anthropic just dropped something pretty interesting. Claude Cowork. and i think it might be a bigger deal than people realize
Continue reading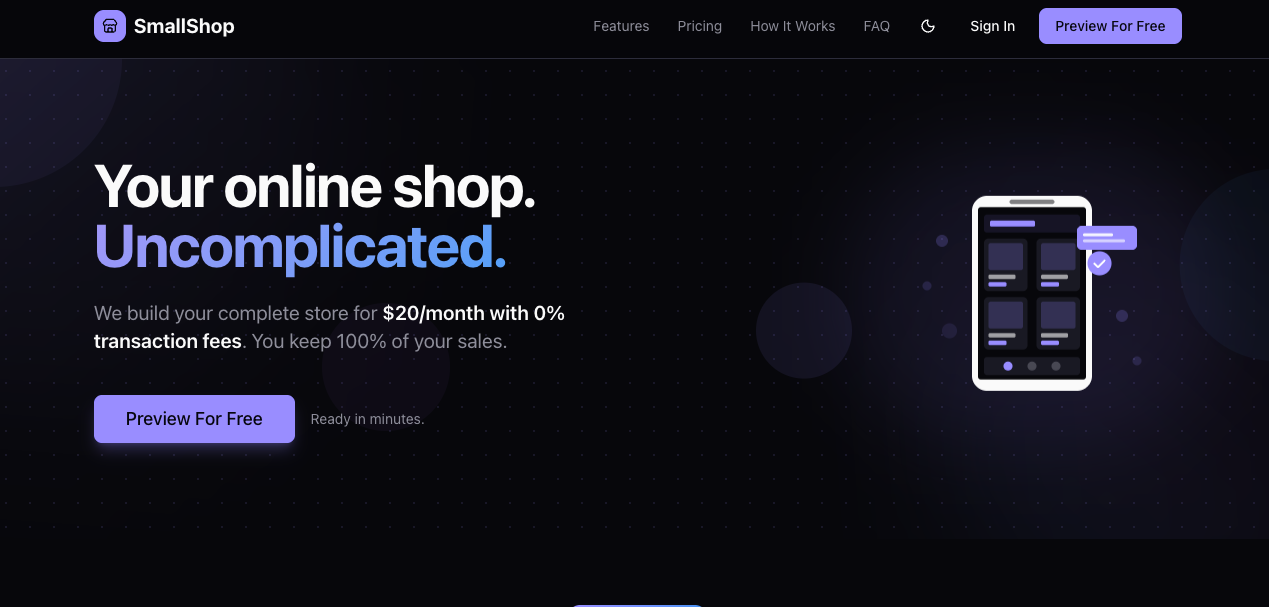
So i was helping a friend set up her online boutique on shopify. should have been simple right? haha
Continue reading
i co-founded Global Pet Sitter with my friend Geert. two developers, over 10 years of housesitting experience between us, trying to build something transparent and community-driven. it started as a simple idea and honestly turned into one of the most educational experiences of my life
Continue reading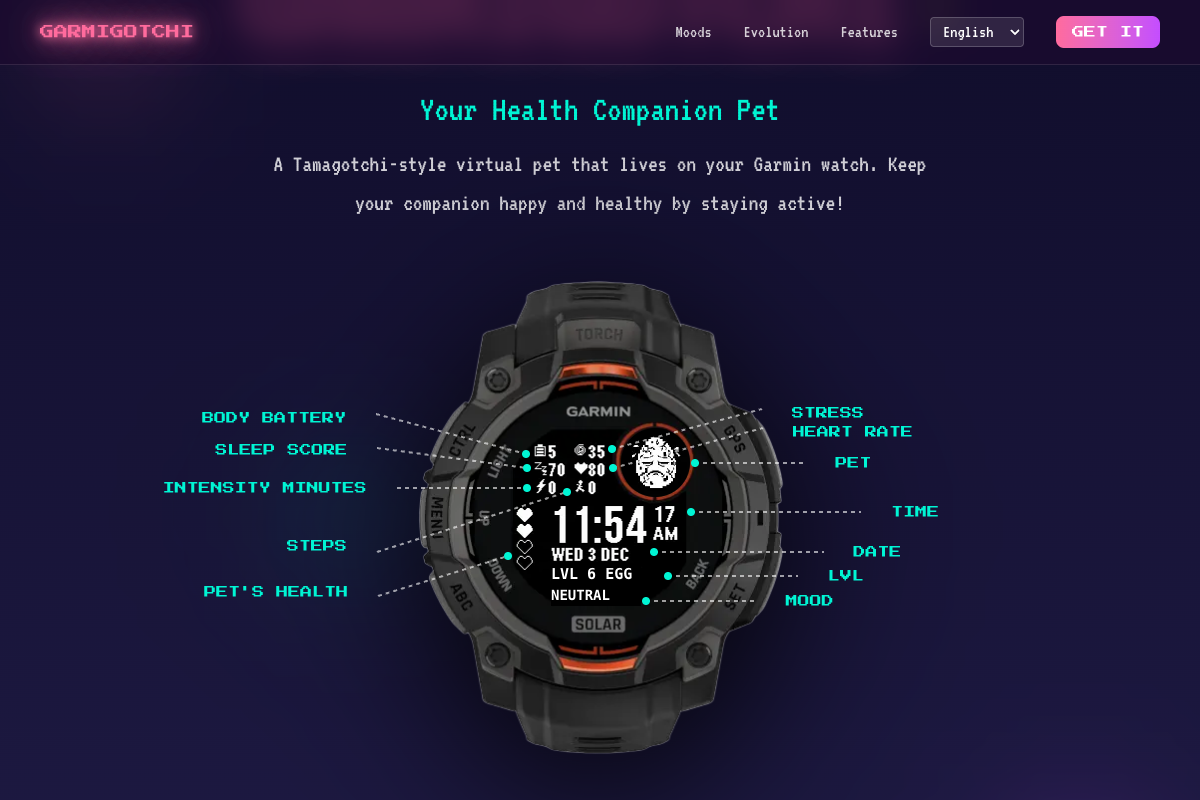
what if your smartwatch had a tiny creature living inside it. one that thrives when you’re healthy and dies when you neglect yourself
Continue reading
Hyperscalper is a professional cryptocurrency trading terminal I built for Hyperliquid DEX. What makes it unique is that it’s fully client-side - no backend servers, no middlemen. Your private keys never leave your browser.
Continue reading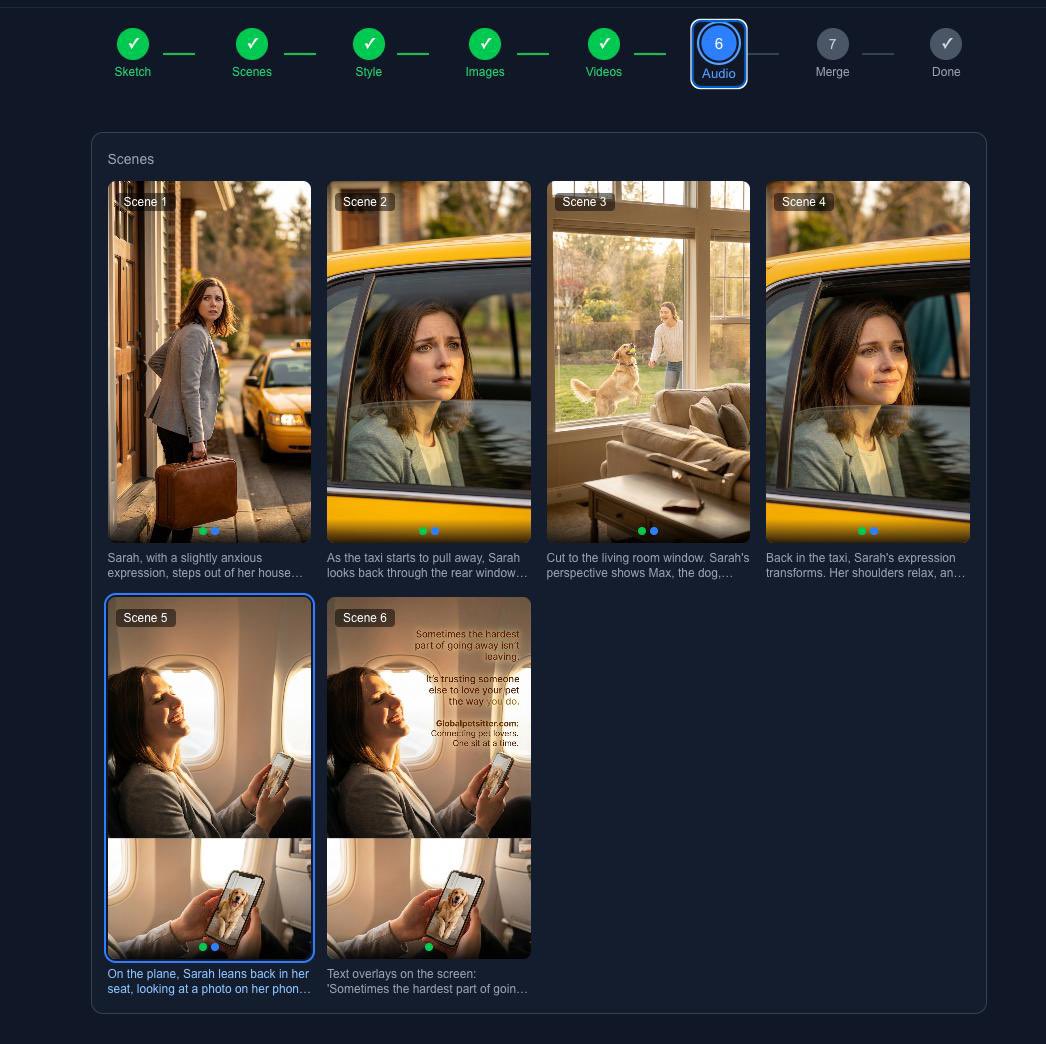
so i run globalpetsitter.com. connecting pet owners with sitters around the world. like any startup i need promo content, specifically video ads for social media. the problem is making even a simple 30 second ad takes forever
Continue reading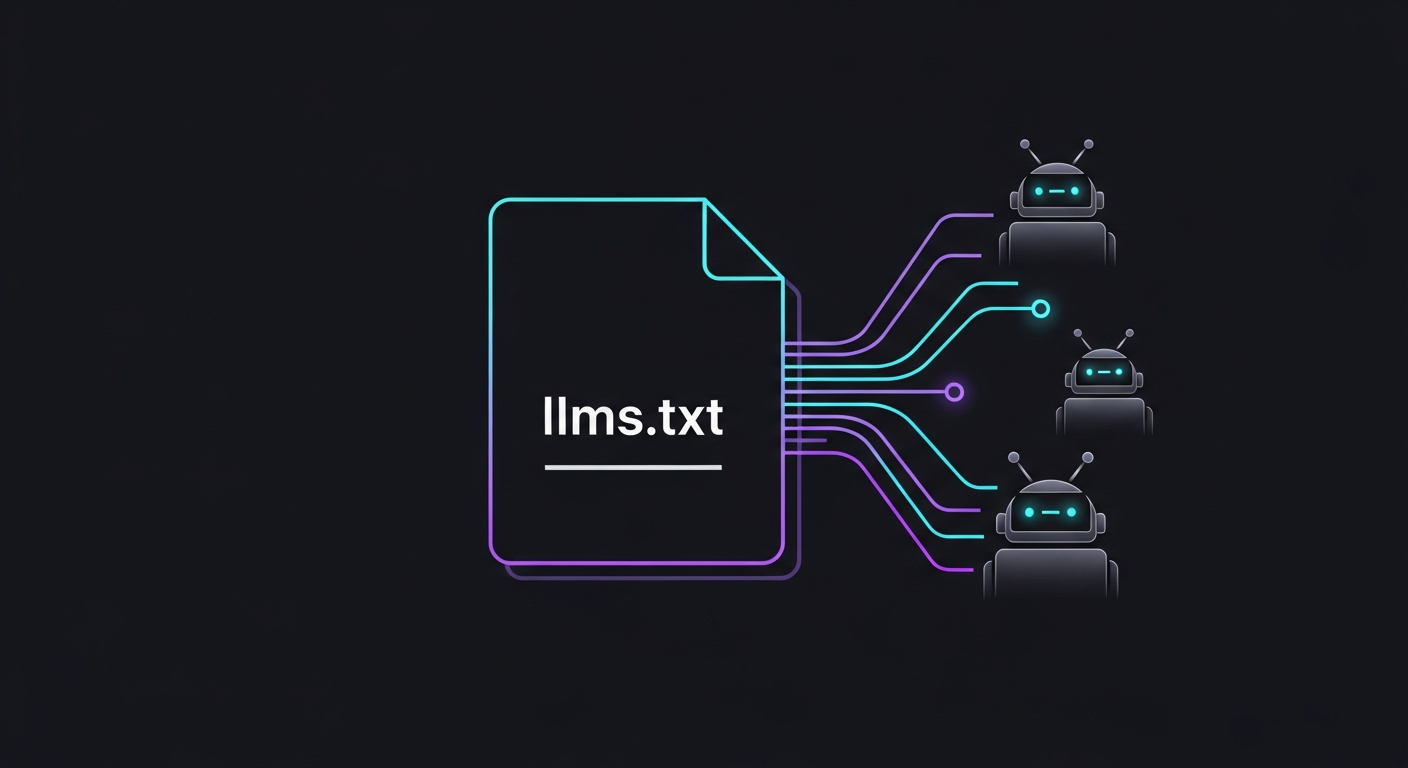
so you’ve probably heard about llms.txt if you’ve been following the AI space lately. think of it like robots.txt but for LLMs


When you have several front end projects going in the same company, and you are using a component based framework like Angular 2, it is important that you can reuse those components over all projects. It is possible to pay npm for private repositories, or to make use of npm link, but in this post, I will:
Continue reading
Quite a few months ago I was working on a personal project called: mailwall.me. The idea was a platform where you can share what you think someone will like using their mailwall.me address. As most people in the world have email, but not necessary a fb,twitter,whatsapp,etc. account, people can email media to people with a mailwall.me account. The message would get parsed, media extracted and displayed in the proper way on the platform. You could tie it up with IFTTT to mail you on social media events and it would automatically categorize everything accordingly. This history posts scroller is an artifact of this project. I was looking for a new way to create a historical overview of the messages.
Continue reading
Traditionally applications have been built as monoliths; single applications which become larger and more complex over time, which limit our ability to react to change. Go is expressive, concise, clean, and efficient. Its concurrency mechanisms make it easy to write programs that get the most out of multicore and networked machines, while its novel type system enables flexible and modular program construction. Go compiles quickly to machine code yet has the convenience of garbage collection and the power of run-time reflection. It’s a fast, statically typed, compiled language that feels like a dynamically typed, interpreted language.
Continue reading
I recently started working on a big Angular 2 webapp. The company I joined has been working on this project since Oktober 2015. It is one of the first companies in Belgium that jumps on the ng2 bandwagon and it has been a joy and challenge to learn and work with this framework every day.
Continue reading
This was my first time doing test driven API development in Node.js and I must say, I really enjoyed it. I used to fall back on a Chrome plugin called Postman a lot before getting used to Mocha and test driven development. It was a joy to write code for a test that described what the endpoint should do before actually coding the new endpoint. It made me think more about the code I was going to write and what it should do. It also happened sometimes that there would be a total API overhaul (like the implementation of softdeletes). And, man was I glad I had written unit tests for all my endpoints when that happened!
Continue reading
This is an effort in mapping out the current ecosystem of tools and platforms that facilitate development of ‘smart contracts’ or ‘Autonomous agents’ using blockchain technologies.
Continue reading
This week I was asked to create a simple web app that allows users to send bitcoins from one address to another using node.js. After skimming through some online articles and forums I discovered Bitcore. I also looked at an alternative called BitcoinJs
Continue reading
Recently, I was struggling with some Shopify products that had more than 100 variant combinations. Shopify has a product variant limitation of 100 per product, whereas products themselves are unlimited. To get around the limitation I wrote a little Node script that creates a unique Shopify product for every variant and links the SKU’s dynamically to option selectors in the product pages.
Continue reading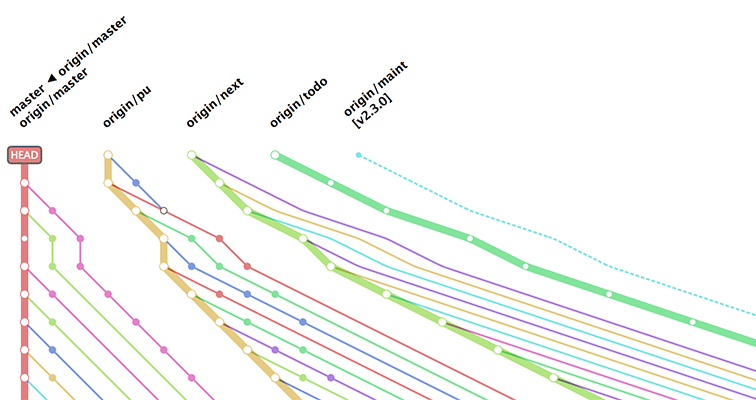
Work quickly, safely, and without headaches. The Git interface you’ve been missing all your life has finally arrived.
Continue reading
I have recently switched to the Atom editor and really love it. I love experimenting with new coding environments and so far PHP- and Webstorm have provided me with the best all round support for everything I make Web-related. But now… there is: Atom!!!
Continue reading
Assemble.io is a really cool static page generator that ties neatly into Grunt, currently my favorite build tool. Assemble works with handlebar templates which allows you to slice up your HTML files into reusable pieces that get assembled at build. One of the cool features is that it allows you to tie in data coming from json or yaml files. If you are not familiar with assemble yet, please go through the documentation before continuing.
Continue reading