When you have several front end projects going in the same company, and you are using a component based framework like Angular 2, it is important that you can reuse those components over all projects. It is possible to pay npm for private repositories, or to make use of npm link, but in this post, I will:
- Implement a private npm registry using Sinopia.
- Create a dummy Angular 2 module.
- Publish the module to my private npm registry
- Access the module from secondary application.
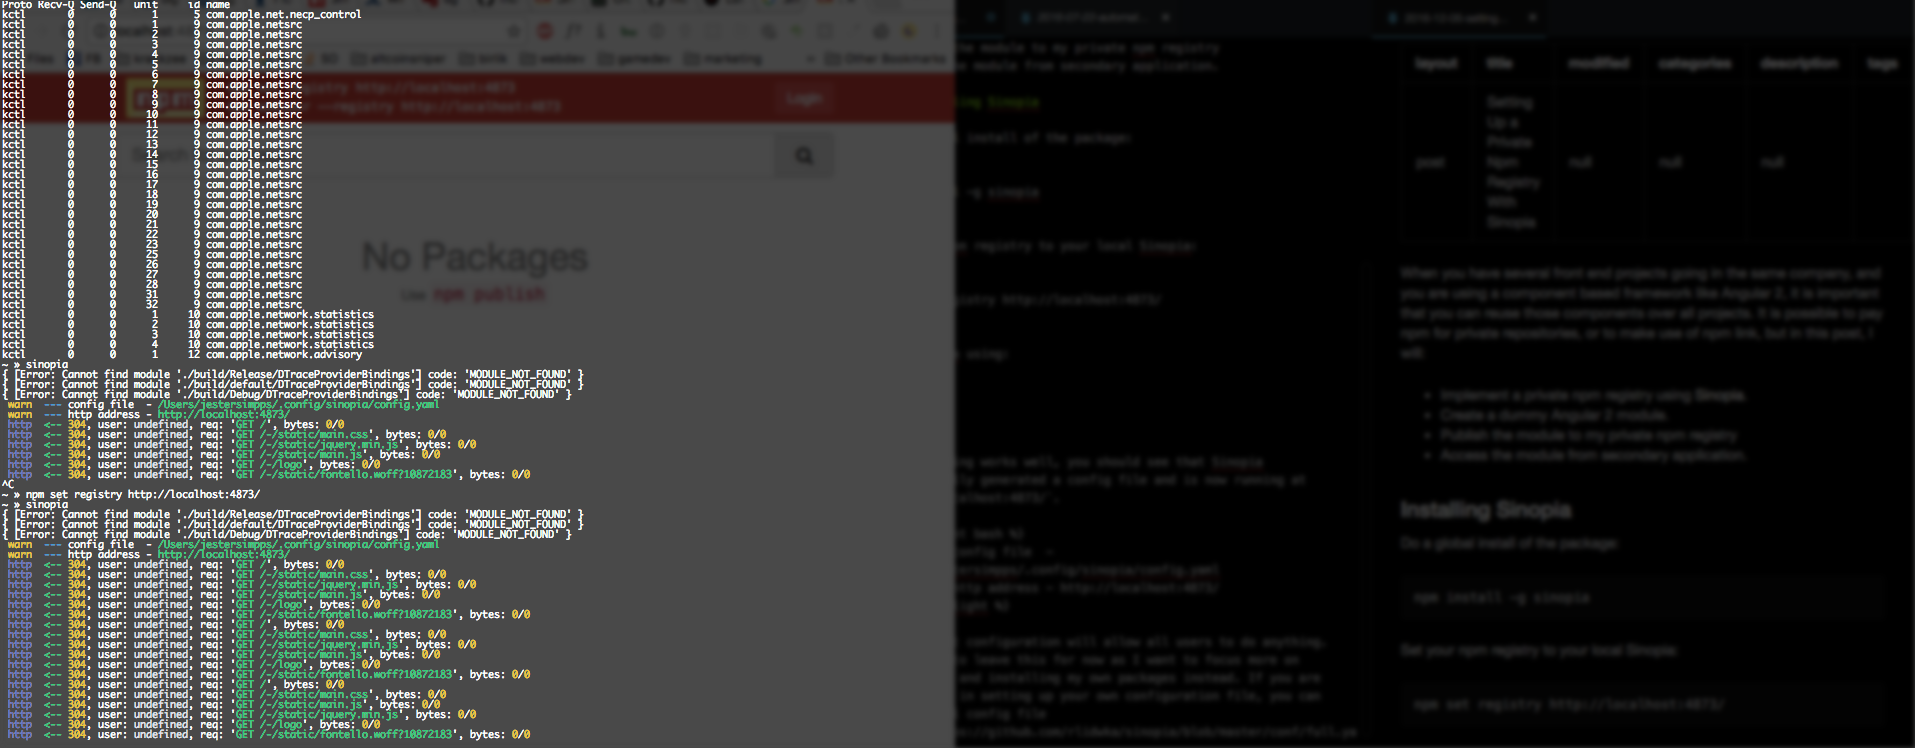
Installing Sinopia
Do a global install of the package:
npm install -g sinopia
Set your npm registry to your local Sinopia:
npm set registry http://localhost:4873/
# if you wish to set it back to the default npmjs:
npm set registry https://registry.npmjs.org/
Run Sinopia using:
sinopia
If everything works well, you should see that Sinopia automatically generated a config file and is now running at http://localhost:4873/.
warn  --- config file  - /Users/jestersimpps/.config/sinopia/config.yaml
warn  --- http address - http://localhost:4873/
The Default configuration will allow all users to do anything. I’m going to leave this for now as I want to focus more on publishing and installing my own packages instead. If you are interested in setting up your own configuration file, you can find a full config file here.
Creating a packaged Angular 2 module
We will create an angular module from the ground up. Cd into the folder (./dummy in my case) you wish to use for your module and generate a package.json file by typing:
mkdir dummy
cd dummy
npm init
This will ask you some questions about the library you wish to create, but don’t worry about those, you can just skip through them. Next, we have to include Angular 2 as a dependency, so we will do:
npm i --save @angular/core
The --save command will add the installed dependency to the previously creatde package.json file.
Once Angular2 is installed, we will create a .ts source file at the root of our library with the name of our library:
dummy.ts
This will be the name we will use later on when we will import our library from a secondary application:
import {dummy} from "dummy/dummy";
This main file in the root will be used to export all of the files we will create next that make our module work.
to be continued…