WebStorm vs. Atom

I have recently switched to the Atom editor and really love it. I love experimenting with new coding environments and so far PHP- and Webstorm have provided me with the best all round support for everything I make Web-related. But now… there is: Atom!!!

My first programming experiences, I remember, were in DOS. There was this editor for Qbasic, which was basically no editor at all. I know there’s always been vi, or vim, but I didn’t know about them as I was 11. When I was around 14-15, I started developing Visual Basic 6 applications. Visual Basic was awesome! The name Visual comes from it having a drag & drop UI builder. I thought that was really great until I moved to .NET. Dot NET was actually a super visual Basic EDI and I loved it.

When making the switch to web development some time ago I started out using sublime text as everybody was using it at the time. I wanted to get into using predominantly open source tools as they are free, and they are developed by a community of people who are also the actual users of the tools they build. However, after Sublime came Webstorm / PHPStorm since I loved the terminal-in-edi solution and it had great code inspection and an actual drag and drop file tree.

Today I downloaded Atom and in a matter of minutes I found and installed the packages “Terminal-plus” and “Atom-beautify”. I now have the same functionality as I had in the Jetbrains EDI’s but in, what seems to me, an editor package.

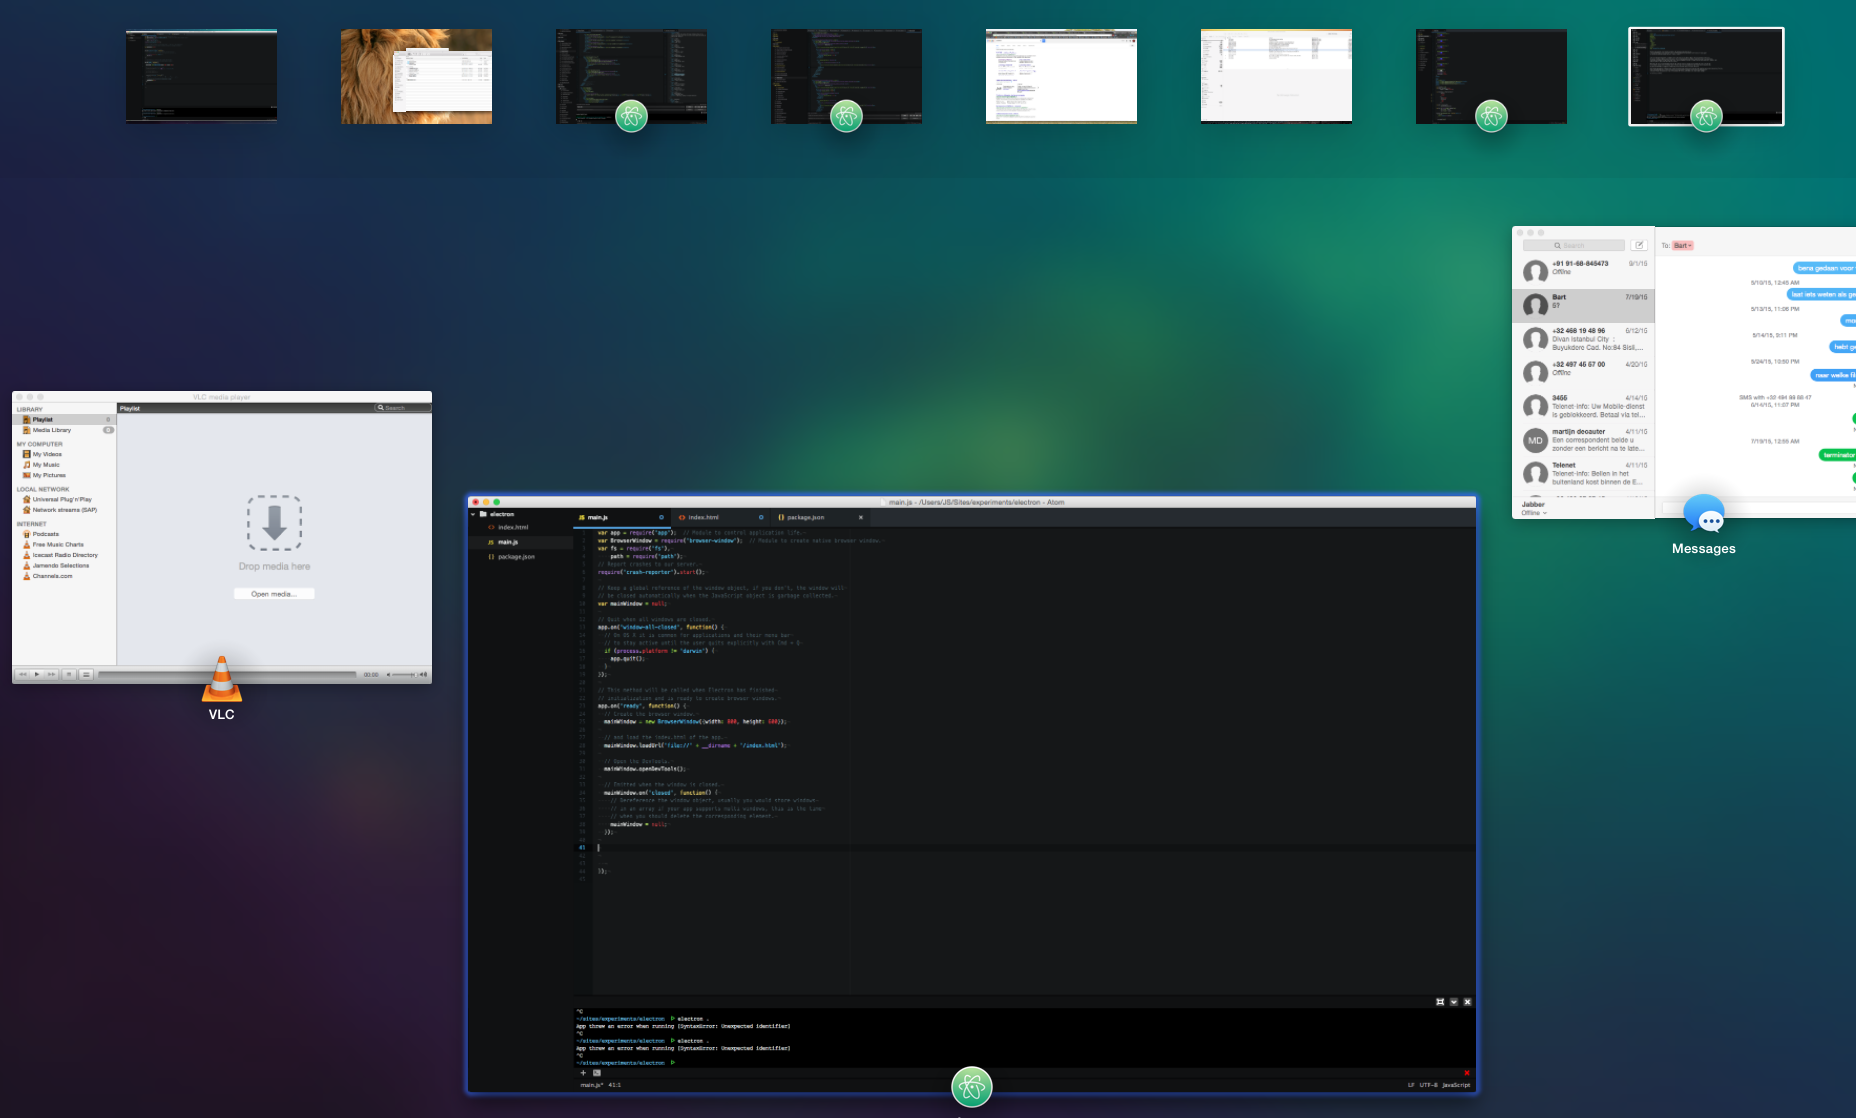
The scrolling is smooth and I can have 4 or more projects open at the same time without any hassle. This would be a nogo using the Jetbrains EDI’s. You either had to minimize the Jetbrains instances and only have one open at a time or switch to power saving mode. Not doing this would ramp up the CPU too much and keep them from working smoothly.

multipleatom

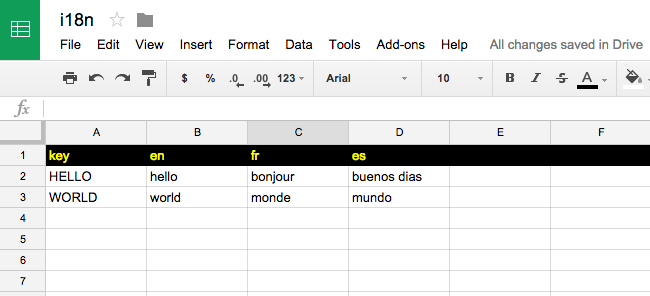
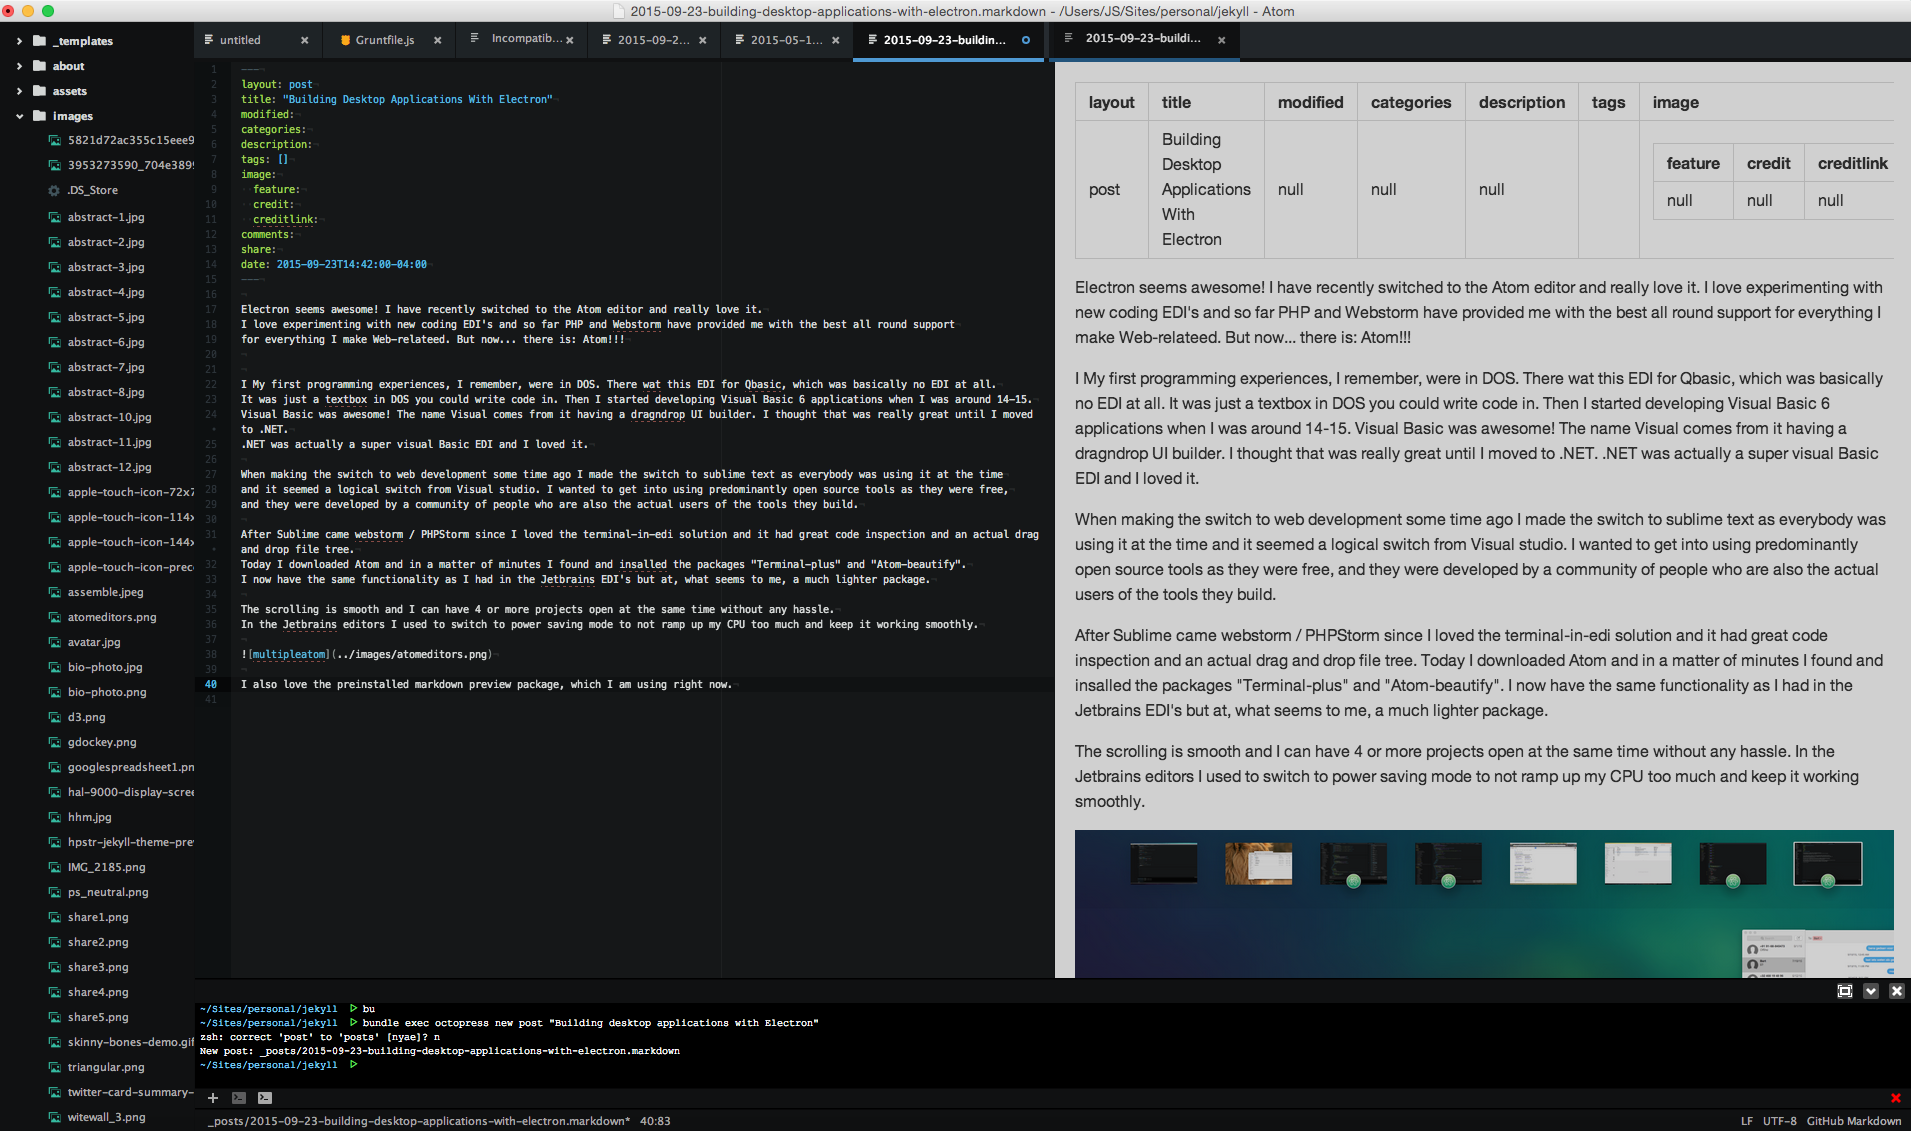
I also love the preinstalled markdown preview package, which I am using right now:

Atom PHPStorm
eatom eatom

PHPStorm also has the markdown preview, but its in a tabswitcher, and I couldn’t figure out how to make it show permanently on the side like the one in Atom.

Overall I enjoy the cleaner, distraction free look of the Atom Editor. A lot of the buttons and tabs that I don’t use in PHPStorm are just not there. You can find all these in the mac top menu bar, which enforces learning keyboard shortcuts. And I don’t mind. My work environment is cleaner, and I have a larger area to code. Also, the few seconds it takes to look up a hotkey combination for a common command will shave off countless seconds of work in the future.

Lastly, what I like about Atom is that you can customize it to your own needs. Atom is flexible and I can choose which plug-ins I need, whereas the Jetbrains EDI’s come with a lot of stuff prepackaged. Stuff that I’ll never use in an EDI. for example: vcs and grunt: good try, but I do my gitting and grunting in the terminal.

If you don’t like something, or want to make it better, it is hackable.

Experimenting with google spreadsheets, assemble.io and internationalisation

Assemble.io is a really cool static page generator that ties neatly into Grunt, currently my favorite build tool. Assemble works with handlebar templates which allows you to slice up your HTML files into reusable pieces that get assembled at build. One of the cool features is that it allows you to tie in data coming from json or yaml files. If you are not familiar with assemble yet, please go through the documentation before continuing.

A few months ago I discovered this awesome Grunt plugin that parses Google spreadsheet files into i18n files. You can find it here: i18n_gspreadsheet

Combining Assemble.io with this Grunt plugin provides for easy internationalisation for static websites. I prefer using this free workaround now for my static web projects. It can be hooked up with Jenkins in a way that you can provide clients with a basic CMS for their website. I’ll try and explain how to set that up in a future post. For now let’s take a look at the Grunt file and how we can make these two plugins work together.

1. Setting up a Google spreadsheet file

Go to your Google drive and create a new spreadsheet file. Name it as you want. I generally use the url of the website I’m going to create. Set it up so that it has a key column which is named: “key” and two letter syllables for the different languages you want to translate to.

google spreadsheet file

2. Making the google spreadsheet file publicly viewable

Make the Spreadsheet file publicly viewable so that the Grunt plugin can pick up the contents. Click on the sharing button in the top right:

google spreadsheet file

Click on the advanced button:

google spreadsheet file

Switch link sharing on:

google spreadsheet file

And publish the file on the web:

google spreadsheet file

Finally, copy the google spreadsheet key for later use, or leave the browser window or tab open so you can copy the key later. To find the key, look in the url for a sequence of randomness:

google spreadsheet file

3. Installing the dependencies

  • Install Assemble.io using npm:

npm i assemble --save-dev

  • Install the required Grunt plugin that parses the spreadsheet file:

npm i Grunt-i18n-gspreadsheet --save-dev

  • Install Grunt-convert to convert the i18n files to json:

npm i Grunt-convert --save-dev

4. Setting up the Grunt tasks

In our Grunt file, we enable the tasks and add the following constants and the key to your google spreadsheet file:

Grunt.loadNpmTasks('Grunt-i18n-gspreadsheet');
Grunt.loadNpmTasks('Grunt-convert');
Grunt.loadNpmTasks('assemble');
Grunt.initConfig({
    config: {
        src                : 'src',
        dist               : 'dist',
        locales            : 'locales',
        google_document_key: '1gA-5lpURCmllQAuTkc5vDvAv6Y4eXJDyr8XS-QJntes',
        default_locale     : 'en',
    },

We add the task that will parse your google spreadsheet file. It will automaticall create 3 .js language files in a /locales folder.

i18n_gspreadsheet: {
    options    : {
        document_key              : '<%= config.google_document_key %>',
        key_column                : 'key',
        default_locale            : '<%= config.default_locale %>',
        write_default_translations: true
    },
    your_target: {}
},

We use the Grunt-convert task to convert these files into json files and write them to the the correct folders we will use in the assemble process. In this example, we use t.json for the data file name that the assemble process will use in the build process. This will allow us to use {{ t.HELLO }} and {{ t.WORLD }} in our handlebars templates, which will get replaced by the correct translations.

convert: {
    options: {
        explicitArray: false
    },
    en2json: {
        src : ['locales/en.js'],
        dest: 'locales/en/t.json'
    },
    fr2json: {
        src : ['locales/fr.js'],
        dest: 'locales/fr/t.json'
    },
    es2json: {
        src : ['locales/es.js'],
        dest: 'locales/es/t.json'
    }
},

We can add a clean task to the entire process and package the sequence in a new task: translate that is to be executed before the assemble process.

npm i Grunt-contrib-clean --save-dev

Grunt.loadNpmTasks('Grunt-contrib-clean');

Grunt.registerTask('translate', [
    'clean:locales',
    'i18n_gspreadsheet',
    'convert'
]);
clean: {
    locales: {
        src: ["locales"]
    }
},

Finally, we add the assemble tasks that will take care of assembling the website in the different languages using the json files in the locale folders. The following code will assemble to the root folder / and the different subfolders /fr en /es from the different locale files (locales/en/t.json, locales/fr/t.json and locales/es/t.json) created by the Grunt-convert task.

assemble: {
    en: {
        options: {
            flatten : true,
            data    : '<%= config.locales %>/en/t.json',
            assets  : '<%= config.dist %>/',
            layout  : '<%= config.src %>/templates/layouts/default.hbs',
            partials: [
                '<%= config.src %>/templates/partials/*.hbs',
                '<%= config.src %>/templates/content/*.md',
                '<%= config.src %>/templates/sections/*.hbs'
            ]
        },
        files  : {
            '<%= config.dist %>/': ['<%= config.src %>/templates/pages/*.hbs']
        }
    },
    fr: {
        options: {
            flatten : true,
            data    : '<%= config.locales %>/fr/t.json',
            assets  : '<%= config.dist %>/fr',  
            layout  : '<%= config.src %>/templates/layouts/default.hbs',
            partials: [
                '<%= config.src %>/templates/partials/*.hbs',
                '<%= config.src %>/templates/content/*.md',
                '<%= config.src %>/templates/sections/*.hbs'
            ]
        },
        files  : {
            '<%= config.dist %>/fr': ['<%= config.src %>/templates/pages/*.hbs']
        }
    },
     es: {
         options: {
             flatten : true,
             data    : '<%= config.locales %>/es/t.json',
             assets  : '<%= config.dist %>/es',
             layout  : '<%= config.src %>/templates/layouts/default.hbs',
             partials: [
                 '<%= config.src %>/templates/partials/*.hbs',
                 '<%= config.src %>/templates/content/*.md',
                 '<%= config.src %>/templates/sections/*.hbs'
             ]
         },
         files  : {
             '<%= config.dist %>/es': ['<%= config.src %>/templates/pages/*.hbs']
         }
     }
},

The build process will now scaffold our /dist directory like this:

...
fr/...
es/...

We can now use the translation keys in our assemble .hbs files that will be replaced by the language content in the google spreadsheet file:

   <h1> {{ t.HELLO }}, {{ t.WORLD }}  </h1>